Animaze FAQ | Animaze Editor Avatar Customizations
How can I add Customizations on an Avatar in the Animaze Editor?
Animaze Editor importer will automatically create a material per mesh. By default, newly created materials feature diffuse, normal map, specular and lighting components (more on Animaze material components in the .avatar technical doc), and the import process tries to properly bind the textures to these components if the texture sources are in the Textures/ folder beside the geometry .fbx file. If the textures aren't binded correctly, the avatar will be rendered with a white shading and you can manually bind the missing textures. The steps for customizing (binding textures, change component factors etc.) a mesh material are as follows:
- First make sure you tick the Customization Options box
![]()
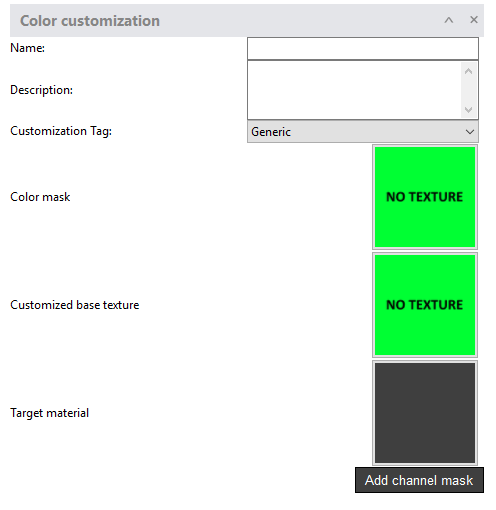
1. Color customization
Requirements:
- Color mask
- Customized base texture
- Expand the customization window and start loading the required textures
- You can fill in a name, a description and add a designated tag as body part or clothing component.
For example, if the hair piece of your model is composed out of 3 meshes, you will have to add 3 color customizations using the same Tag, color mask textures, customized base textures and same values on the RGB Alpha channels when added.
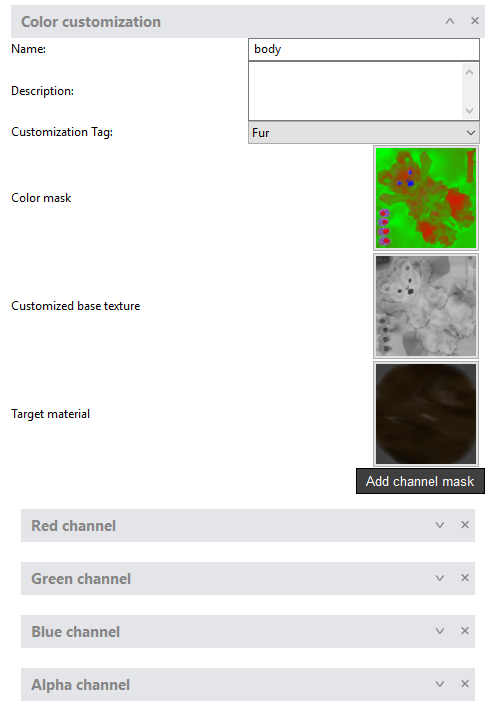
- Add channel mask - the Color Mask uses the RGB & Alpha channels, which you can add in order to set the color in the regions you want
- areas you paint in black are hidden
- areas you paint in white are visible
- areas you paint in shades of gray appear in various levels of transparency.
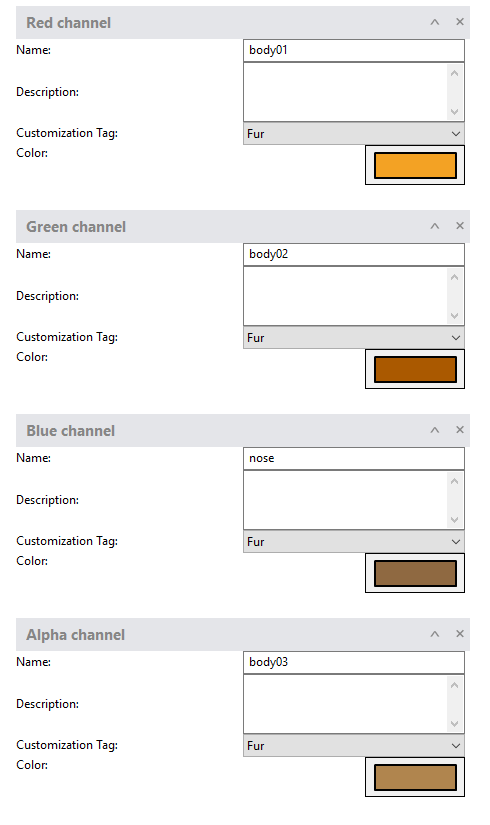
- Set the colors for the channels in two ways:
- either by clicking on the color box in the channel, which will open up a color picker dialog box
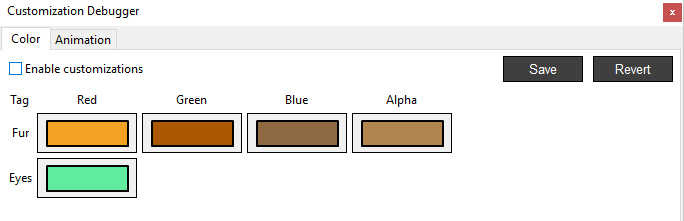
- or by going to the Tools menu and choosing the Customization Debugger, which will also open a dialog box where you can set the colors as you wish
2. Animation customization
Requirements:
- Animation files in .fbx format
- Expand the customization window and fill in the name, description and add a designated tag
- Browse for the animation file you will use
- Set the value you want by clicking on the V box and sliding to left/right

- The Compute default value button finds the closest value of the idle animation; it calculates the middle value of the respective animation
- Save your changes before exiting the Editor